Engine Bay:

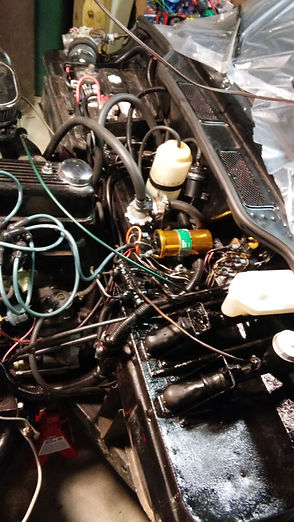
New Geared Starter, new 63A alternator, new coil, added washer motor, new master brake & clutch with boots, heater valve & hoses, starter, horn, safety relays, electronic flasher for hazards.


After market, master cylinder
drip pans, added steel braided brake lines from brake master cylinder to PDWA removed OEM fuse
box, and made a new bulk
head wire pass through in it's place that is made in halves.

This allows one half to be removed for passing or fixing wires that pass into the drivers passenger compartment
The 3 fuse OEM box has been broken out to 3 six gang blade fuse boxes with a single fuse per circuit. These
fuses each have a LED that glows if that fuse blows. The 3 boxes are: Switch hot (Top), Lights (Middle), Constant Hot (Bottom).

New "Hella" Horns dual note air horns.
I will be putting an enclosed 5 relay box
up here in the front probably mounted to
the left radiator air shroud, so I can use
relay power for the: Horns, High Beam, Low Beam, Driving Lights and Radiator Fan so that the switches that control that only have relay
coil power instead of the entire electrical load.
I got the "Grill" wiring neat again, and added a 5 relay enclosed box, that now handles:
The Low Beams, The High Beams, The Horns, The Driving Lights, & The Radiator Fan.
The following pics show the new relay box without and with the cover (Lid), and mounted to the
left radiator air guide shroud.


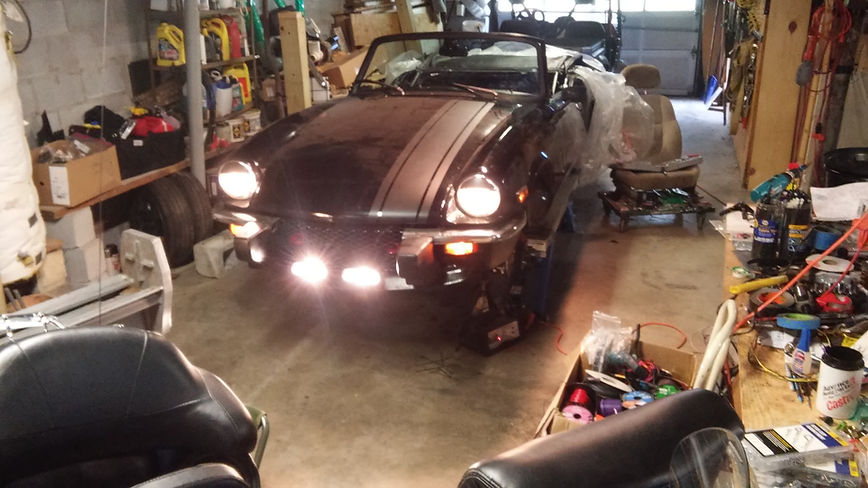
Showing how the Halogen Driving lights are mounted and working.


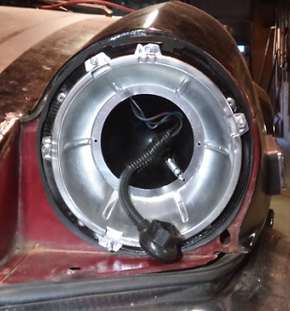
Rebuilt the Headlight assemblies, put new weather-gaskets behind the assembly socket, cleaned and repainted the assembly sockets (cups), replaced the headlight plug pig-tail since the OEM plug was cracked and broken. Re-riveted the socket back to the bonnet, then cleaned and repainted the headlight reflector with "Chrome" paint and remounted it, the new Halogen light and chrome ring with new screws and angle adjustment screws/spings and nylon adjustment base nuts as well. Left side looks and was done the same.


Got my new battery box/pan installed and the refurbished battery angle brackets. The hole (see pic) was very large due to the poorly fitting hack job of a plastic battery box that some previous owner had done. So had to make a firewall hole cover plate, then install the battery pan, then install the angle support brackets. I used Black RTV silicone and sheet metal screws to secure it and it turned out to be VERY solid. Considered MIG tacking it, but don't have a MIG...hehehe. Oh well it works and since it is a driver I am happy with the looks. 1st pic got some second hand battery angle brackets, refurbished them, 2cd pic The Hole, 3cd pic Battery pan in place, 4rd pic with angle brackets installed, 5th is battery and holding bracket installed.


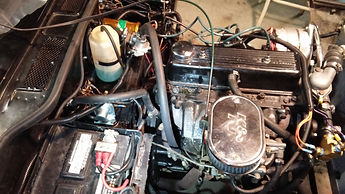
ABS Engine Valences and Radiator air guides installed, I used "Tie Wraps" to hold the engine valences to the
OEM brackets, which is MUCH easier to clip out or put in new ones to re-attach them. The OEM bolts and nuts where much, much more of a pain in the butt to use. The radiator air guides are mounting using the OEM bolts.


I added Bonnet LED lights, (re-purposed truck bed lights), that come on when the Bonnet is lifted, via a Hall effect switch that is mounted to the left front fender toward the front on a mount bracket, and the other half of the switch with the wires on the inner part of the left bumper. I added a water proof switch on the upper part
of the left fender so that I can turn them off if I need to keep the bonnet lifted for extended work.


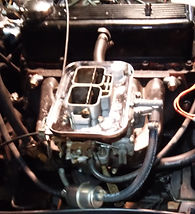
I found a "Flapper" rubber piece for the drain on the interior heater/air vent from Spitbits. I had to replace the intake/exhaust gasket studs and parts since I had a gasket leak, replaced the exhaust header to down pipe gasket as well. While the intake was off I rebuilt the Weber DGV carb and got the car running. Added a remote slave clutch bleeder kit, Replaced the Motor mounts and upper & lower radiator hoses.


Motor start after Weber rebuild, of note the sound of the motor sounds really odd on my cell phone. It sounds like a "Normal" motor when running, there is just some odd echo in my garage.
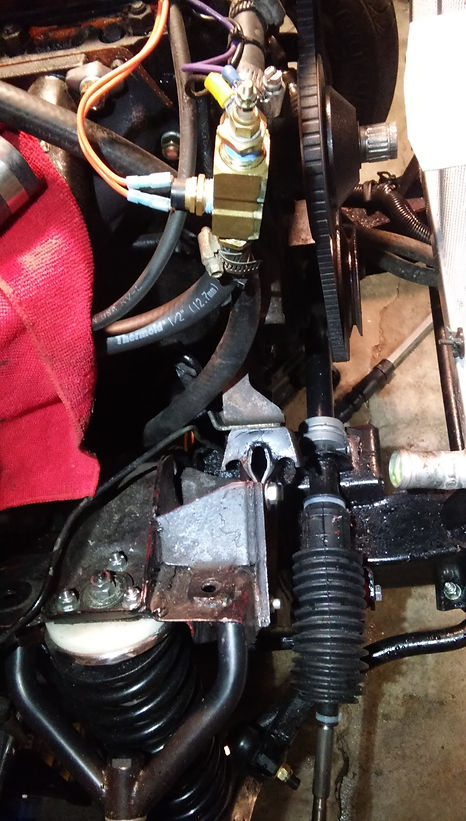
Formed my own "Cunnifer" (Ultra-flex) copper alloy lines from Brake Master cylinder to PDWA. Pics show the progression from 3/16" roll of tubing to tube-nut fitted lines with bubble flanges, to include the bake line forming tools I got from Eastwood. The tools made this job SUPER easy to do, and I just LOVE the Ultra-flex line. I started by making brake line templates from Clothes hanger wire for the two PDWA lines.


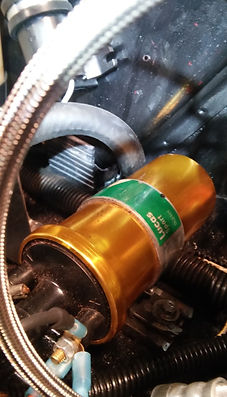
Fuel Pressure Regulator (low pressure 1-4psi) with Gauge installed.
